I’ve been putting a lot of thought into the company, and her challenges, and I’ve come to a few realizations. I promise, it’s not all bleak!
- Our fulfillment window has gotten longer and longer, each month, since I became my parents’ caregiver. Caregiving is a multi-faceted job that includes wearing a lot of hats through the day, and it can be unpredictable. I’ve got to work with each day as it comes.
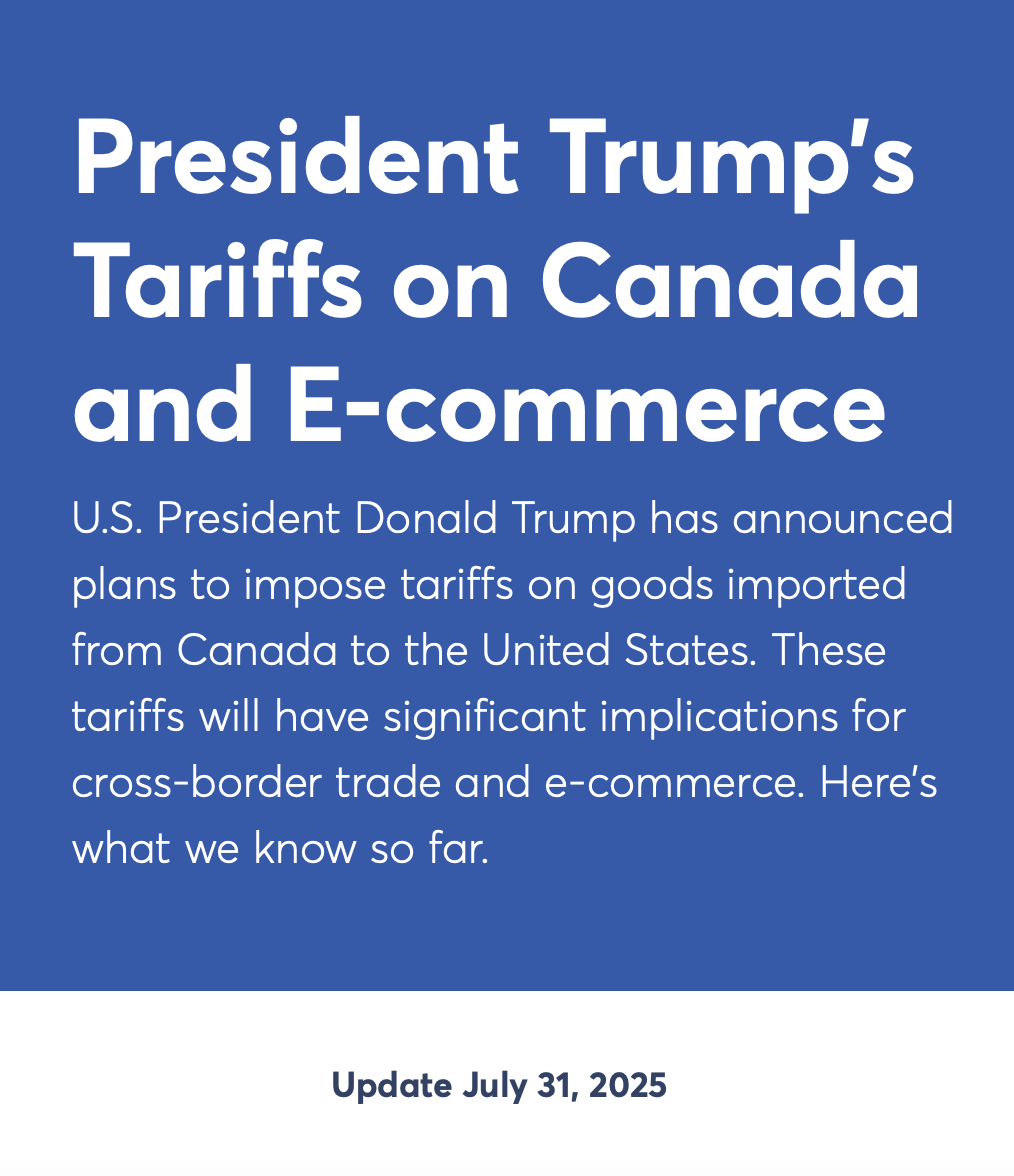
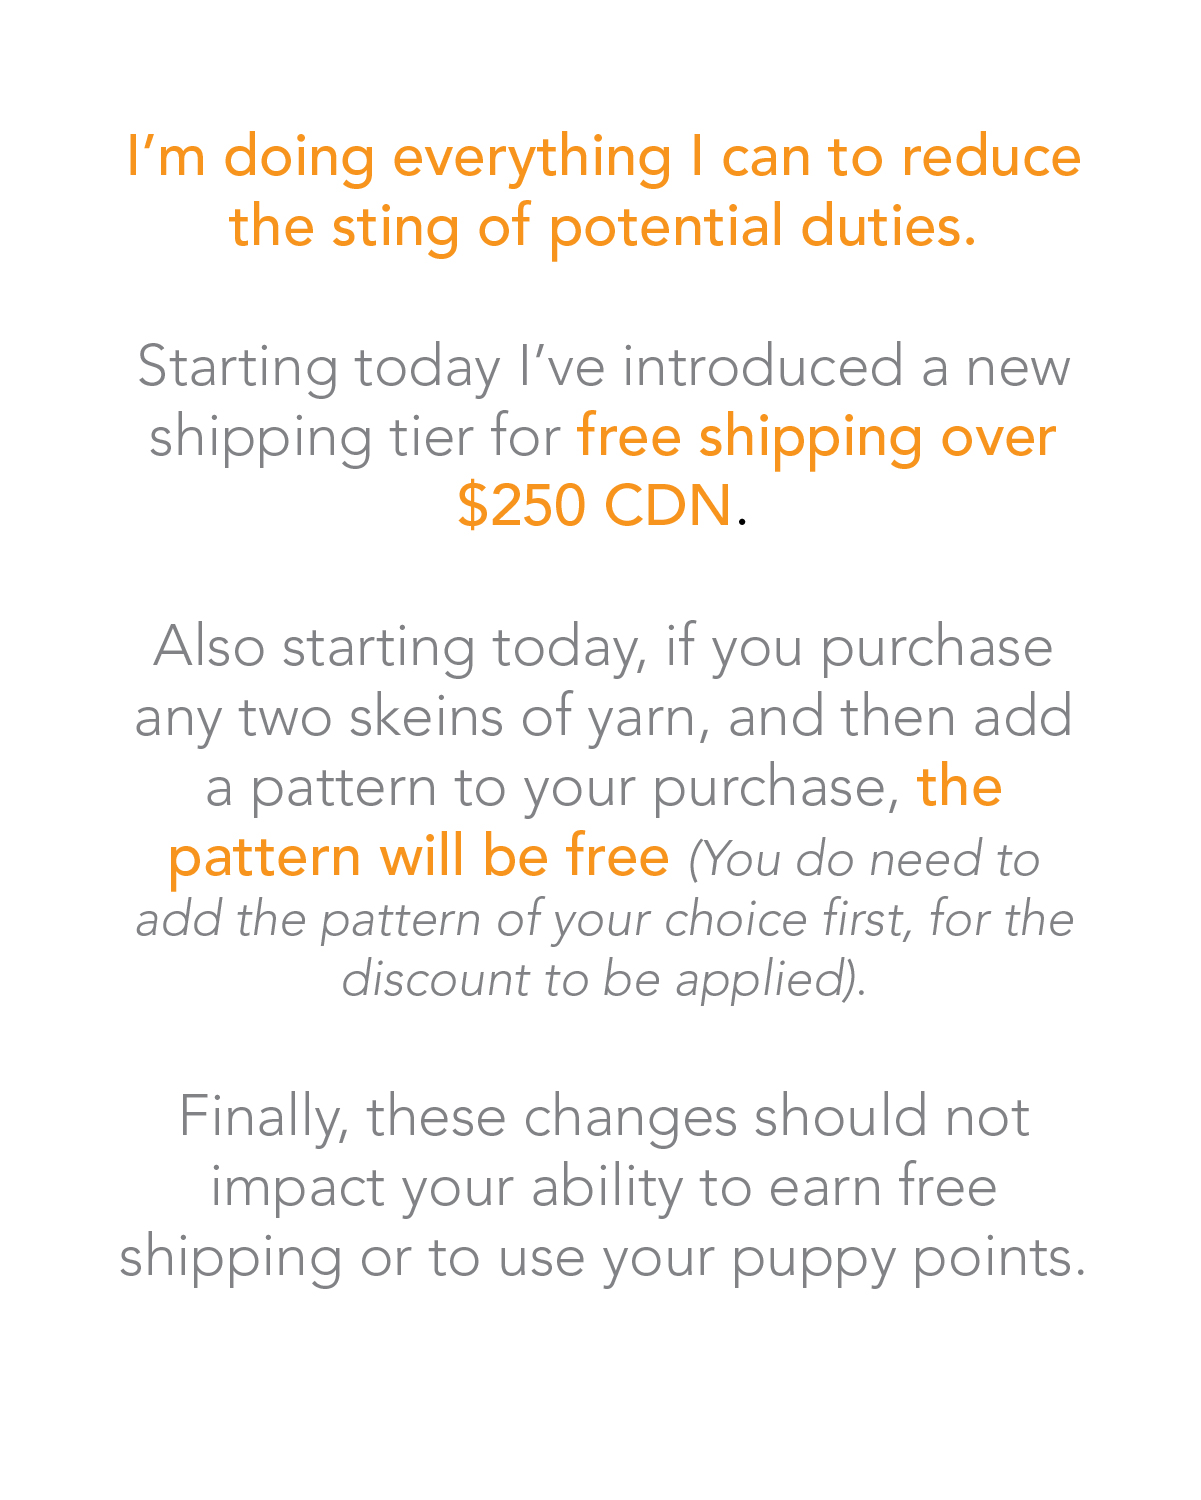
- Between tariffs, and the change in the relationship between Canada and the US, things are unstable. It’s not just tariffs, it’s supply chains, import duties, shipping costs, brokerage fees, leftover pandemic problems, insurance blah blah blah. Ugh.
- CUSMA may not be around much longer. POTUS already indicated that he’s considering ditching it altogether, and there may not be a replacement. I couldn’t even estimate what those duties would entail because there are no straight answers out there.
- On a personal note; I’m trying to Do the Things. But gods… there is a kind of world-weariness that is setting in and some days it all feels uphill, especially while battling depression. I know lots of you feel me on this <3
Tito and I have had this conversation before. That we’re behind. That we need to tweak things. Enough that we know it’s not just a matter of working harder, or later, or sleeping less or cutting costs. We have a few ideas that will go into play soon, and we are hoping our generous, sweet and patient customers will be along with us for this experiment.
PAUSING PRE ORDERS TO THE USA FOR NOW
We are going to increase our ready-to-ship inventory, and restrict our pre-orders to domestic orders and non-tariff countries. The reason is that I cannot guarantee that somewhere, in my fulfillment window, CUSMA won’t get cancelled. We can’t risk having a backlog of outstanding orders that will incur unpredictable fees to fulfill.
This doesn’t mean that US citizens will be totally excluded from fun new things, but it does mean that I can’t open a product to them until I know that I can ship it within a week or so. So if you see something you want, write to me and we’ll figure it out :)
WHAT IF I WANT SOMETHING YOU DON’T HAVE FOR SALE?
Want a sweater kit, or a colour that isn’t up? Need a kit, or an extension to finish a project? Write to me, and I’ll dye your order, and add a few items of that colour to the inventory to make it worth the dye and time. Feel free to comment on posts or send me emails telling me what you want to see in the store! Customer-driven inventory is the best way for us all to get what we want :)
WHAT ABOUT CURRENT PRE ORDERS?
We are still plugging away at our pre orders. We are looking to complete the James Webb/Star Trek collection by Friday next, and get into the Perihelion Shawl kits. Everything will be fulfilled as soon as possible and nothing is getting cancelled or left behind :)
WE ARE STOCKING A US RETAILER – THE NIFTY KNITTER!
We are not sure how that looks in a post-CUSMA future, but at this time we are working on a partnership with our dear friends at The Nifty Knitter in Issaquah, WA (more on them soon!). We are hoping that they can take over as a US provider in the event of a CUSMA cancellation and we can create a mutually beneficial way of handling the tariffs with them if necessary.
WE ARE PLANNING TO HIRE SOMEONE
The Blue Brick was happiest when she had at least four full time people. Part of the challenge has been moving the company to our basement, and with my unpredictable care schedule it’s been hard to rope off a 9-5 block. Another set of hands will help the train keep moving (please don’t send us resumés though, we already have someone in mind :))
OK, so what now? Tomorrow I’ll start creating a plan for the inventory. One that gets you variety, kits, and projects that are ready to go. We will promote all shop updates on our instagram feed, and our newsletter (go to our website to sign up!).
We will do our best to make sure the word is out and the inventory is delicious every time we do a release. We hope that we can generate enough cash flow with this method, while shortening customer wait times and pre-preparing ourselves for the future of the free trade agreement, but it’s a bit of a jungle out there these days and, who knows?
What I do know, is that we’re creative, committed, and here for the long haul :)