
Tag: DIY
-
Had to share a few snapshots of the work we’ve been up to lately, along with information at last about our upcoming art shows! Tito and I have been accepted to: Frogpond Farms Organic Winery, Art in the Vineyard, June 20-21 Niagara-on-the-Lake Market, July 11th & 18th Art By the Lighthouse, August 1-2 We are…
-

Actually, I’ve been up to a great deal more than this – I’m building out an e-commerce site that will allow folks to purchase patterns, books and jewelry from us, without having to bother with Etsy, but it’s not ready for release just yet :) In the meantime, here is some eye-candy of our latest…
-

Of course, resin had to be an installment in my holiday-related crafting tutorials, and I honestly think they’re the prettiest ones yet (I’m biased though!). Tito and I made these for our vets, to thank them for the awesome care they have shown our diabetic kitty this year. You will need: Contact (sticky) paper A…
-
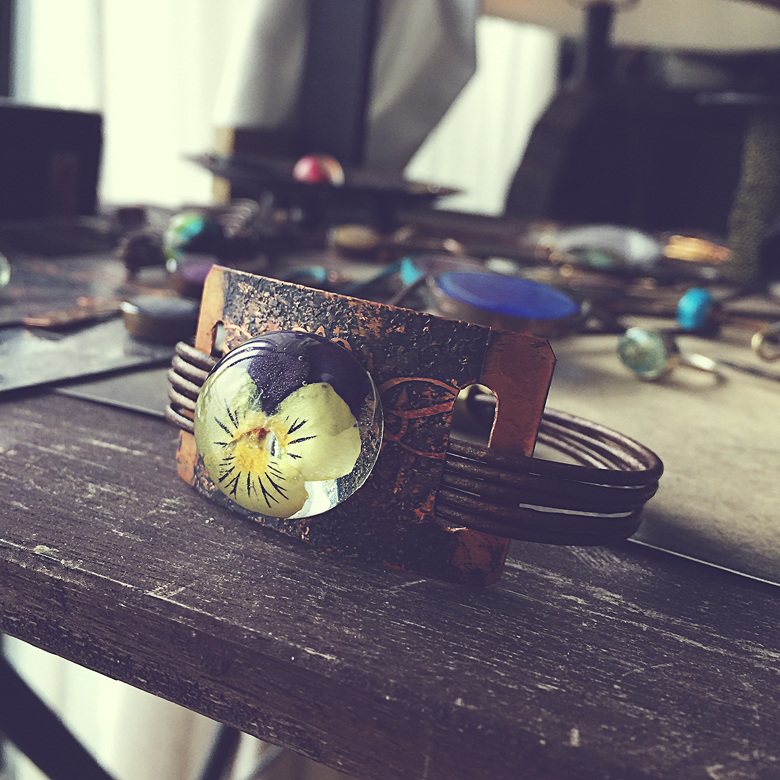
Creating that antique look with copper is super simple – on my first try I got really nice results. You will need: A copper piece Household ammonia Fishing line (or, as in this case, plastic beading string) A jar (about a pint should do, this is an old instant coffee jar) Tape Run the plastic…
-
In my work on the book ‘Resin Jewelry’ I did a ton of photography –many folks who looked at the book in its first stages remarked on how the photography really made the book shine. In my day job I work in advertising, and I can tell you that the emotional connection almost always happens…
-
From my intro: I have been working with resin for 6 years, and in that time I’ve made some beautiful things, but also had some tragic failures. I’ve been inspired by the beautiful things to keep going, and learned from the failures until I got to a point where I could get predictable results. Over…
-
Ok, so he’s not that allergic. Tito’s pretty awesome =D and he made me this: Pretty snazzy, eh? If you’d like to make your own, or to sucker someone into making one for you… he’s posted a DIY right here.
-
Who doesn’t love custom stitch markers? They make knitting just a little more cheerful – and they’re super easy to make. I can’t take credit for this brilliant idea for snag-free markers, I got it from the fiber flux blog and I haven’t purchased stitch markers from the store since. The genius part is that,…
-
Tito and I have these little IKEA lamps beside the bed – and the other night I (having, no doubt, some very serious nocturnal karate match going on) decided to fling my arm out and smash mine. What a mess. Rather than brave the madness that is IKEA I whipped up another one. I love…
